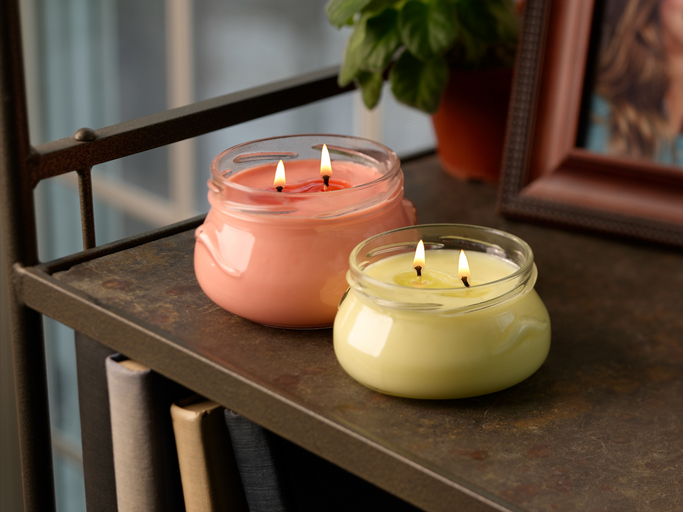
Although you want your home to smell nice all year round, it’s especially important during the holidays. After all, this is the time of year when you most entertain family and friends. Here’s a fantastic solution. Instead of air fresheners that don’t last, consider DIY soy candles. Not only are they fun to make, but they’re also safer compared to other types of candles.
Benefits of Soy Candles
Unfortunately, air fresheners and certain types of candles aren’t safe. Similarly, their fragrances don’t last. In comparison, soy candles don’t contain any carcinogens, pollutants, or toxins. In addition, soy candles have a lower melting point. As a result, they last a long time.
Fragrance Oils
Especially starting in the fall, you’ll find so many incredible scents. However, make sure you choose a quality product. In particular, buy oils from a trusted source and choose those that contain only natural ingredients. Remember that for your DIY soy candles, you’ll need one ounce of fragrance oil for every pound of wax.
Required Supplies
Below are the supplies you’ll need for your DIY soy candle project.
- Soy wax
- Cotton candle wicks
- Fragrance oil
- Proper container for your candle (preferably stoneware or ceramic)
- Large, heavy saucepan
- Large knife
- Cutting board
- Hot glue and glue sticks
- Glass measuring cup
- Digital kitchen thermometer
- Spoon
- Scissors
- Potholder
- Dye (optional)
Step One
The easiest method is to place the soy wax in a glass measuring cup. Then melt it in the microwave. Most importantly, check it every two minutes. That way, you can get the temperature up to 185 degrees without going over. Above all, check the wax in 10-second intervals as it gets closer to the required temperature.
Step Two
If you want to color the candle, add a few dye flakes to the hot wax. Using a spoon, stir it well to distribute the color evenly. Similarly, add the fragrance oil while the candle is still at 185 degrees. Remember, only one ounce of fragrance for every pound of wax. Otherwise, your candle won’t have much of a smell, or it’ll be overwhelming.
Step Three
With those steps complete, put a dab of hot glue under the metal base of the wick. As a result, it’ll easily stick to the bottom of the container. If you’re making a large candle, you can use two or three wicks. If the wick begins to lean, make a strip of tin foil long enough to rest on the sides of the container. Then create a hole that’ll slide down over the wick.
Step Four
Let the wax cool to 170 degrees. After that, pour it into the chosen container. The goal is to add enough wax, so it’s about one-half inch from the tip. Then give the wax time to cool without getting disturbed. Usually, this step takes two to three hours.
Step Five
Now, it’s time for a second pour. Typically, once the first level of wax cools, you’ll notice some imperfections. The reason for this second pour is to smooth out the top. Again, you’ll heat soy wax in a glass measuring cup as you did the first time.
Step Six
When ready, slowly pour it over the cooled wax. You don’t need much, as this is simply a new film that improves the candle’s appearance. Again, you’ll allow this second pour to cool. Usually, it happens much faster than the first pour.
You might also like: Prepare For The Holidays With These Side Dishes
Step Seven
To finish the soy candle, use a pair of scissors to trim the wick. Ultimately, it should measure 5/8 of an inch. Moreover, you can embellish the candle container with faux flowers, paint, or whatever you want.
